7 Days To Die: Mastering Infested Clear Missions for Maximum Rewards
7 Days To Die offers diverse mission types, with infested missions standing out as particularly challenging yet rewarding. This guide covers everything you need to know about tackling these missions effectively, maximizing your XP gains and loot acquisition.
Starting an Infested Clear Mission
 To initiate any mission, visit one of the five traders (Rekt, Jen, Bob, Hugh, or Joe). Mission difficulty scales with tier level and biome. Higher tiers and harsher biomes (like the Wasteland) present tougher enemies. Infested missions unlock at Tier 2, requiring completion of 10 Tier 1 missions. Expect increased zombie numbers and tougher variants (radiated zombies, cops, ferals) compared to standard clear missions. Tier 6 infested missions are the most demanding but offer correspondingly lucrative rewards. The objective remains consistent: eliminate all enemies within the designated area.
Completing an Infested Clear Mission
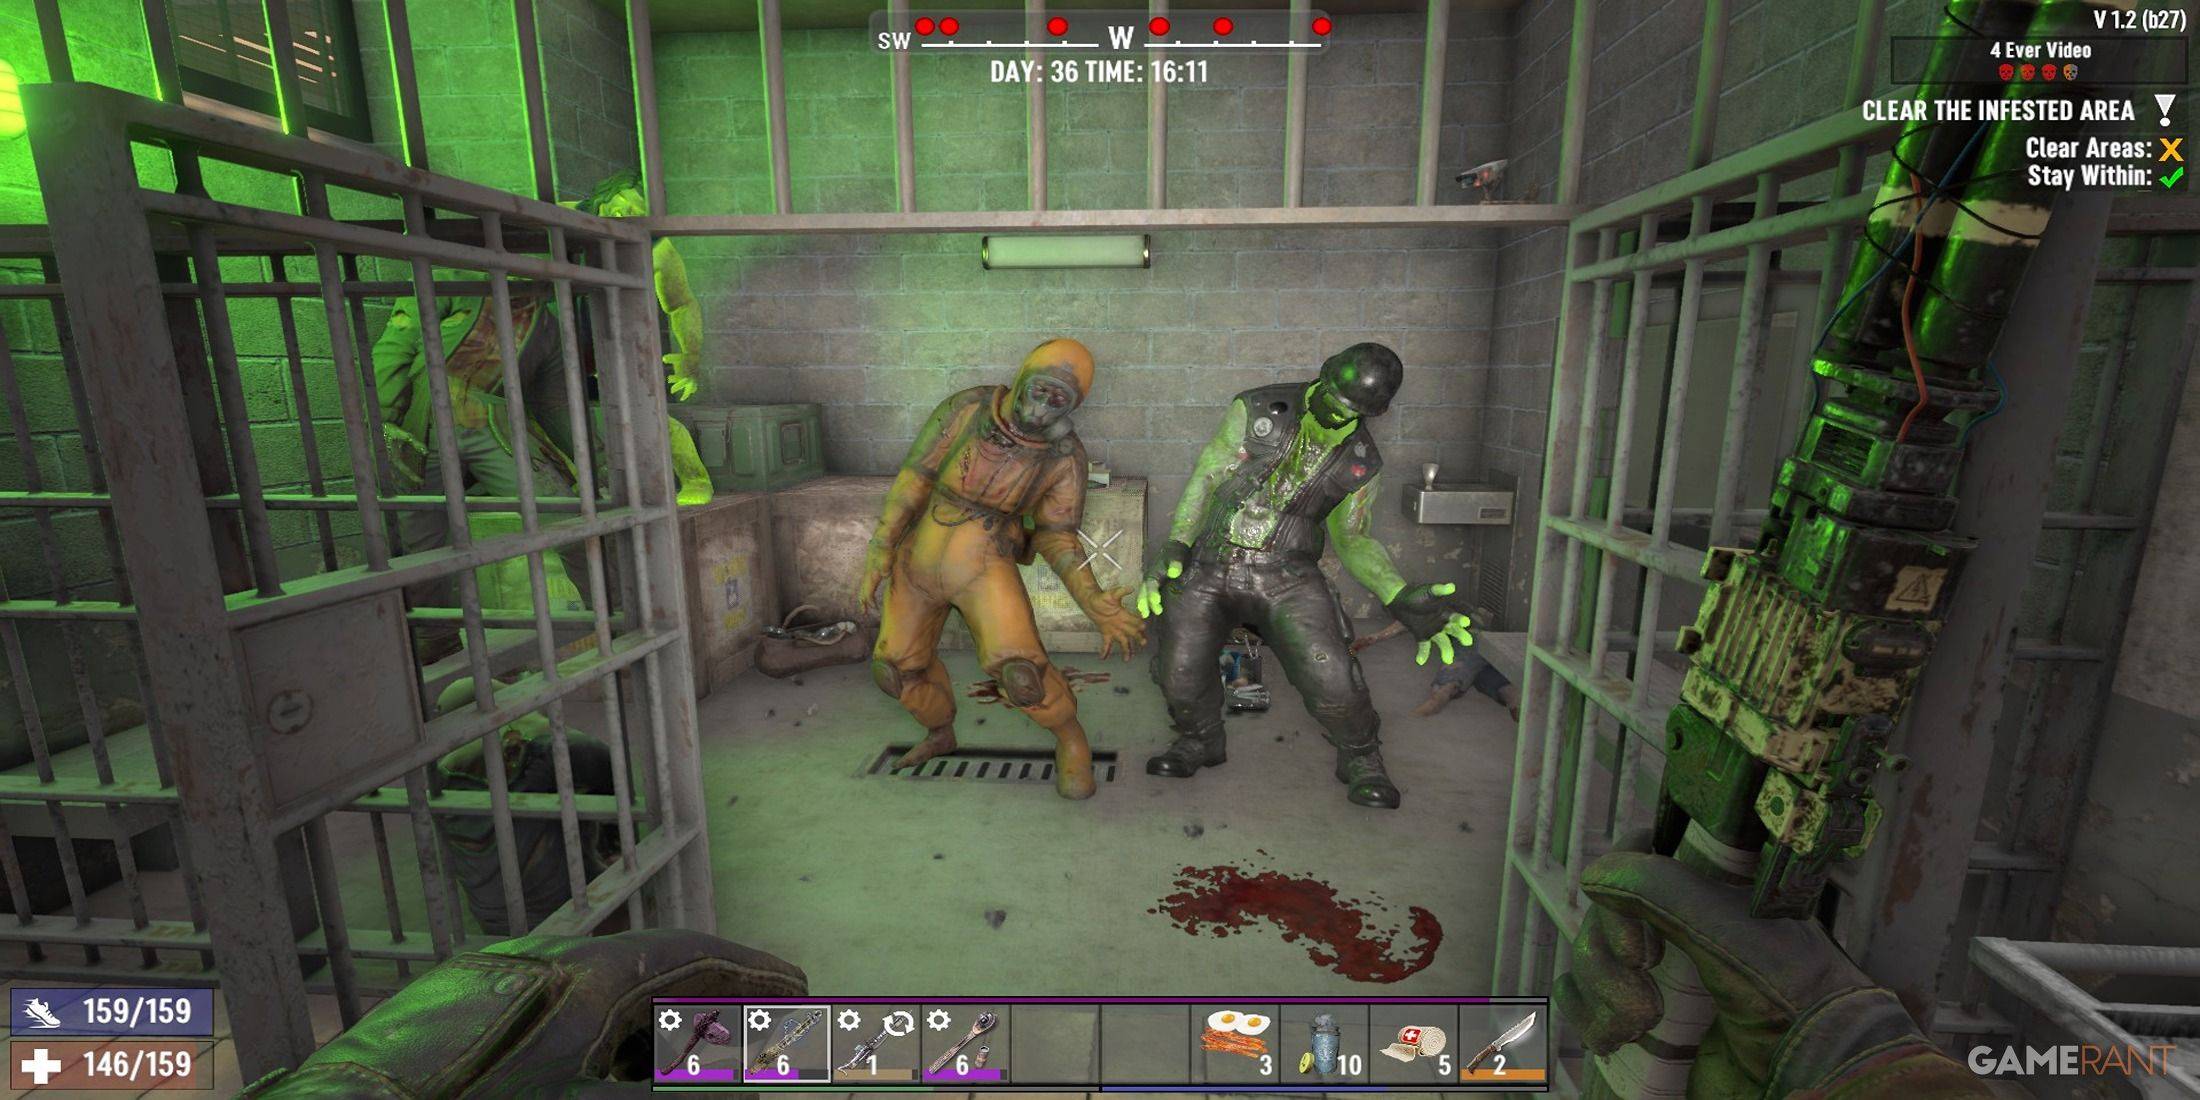
 Upon reaching the Point of Interest (POI), activate the mission marker. Leaving the area or dying results in mission failure. POIs often feature strategically placed triggers, potentially unleashing hordes of zombies. Avoid the obvious, often well-lit paths to bypass these traps. Carry building blocks to escape unexpected pitfalls or create alternate routes for flanking enemies.
Red dots on the screen indicate nearby zombies, with size correlating to proximity. Prioritize headshots, especially against specific zombie types:
| Zombie Type | Abilities | Counter-Strategy |
|---|---|---|
| Cops | Spit toxic vomit, explode when injured | Maintain distance, utilize cover before their vomit attack. |
| Spiders | Jump long distances | Listen for their screech before they jump. |
| Screamers | Summon other zombies | Eliminate them first to prevent overwhelming hordes. |
| Demolition Zombies | Carry explosive packages | Avoid hitting their chests to prevent detonation. |
The final room typically holds high-value loot, but also a large concentration of zombies. Ensure you're fully healed, well-armed, and know the escape route before entering.
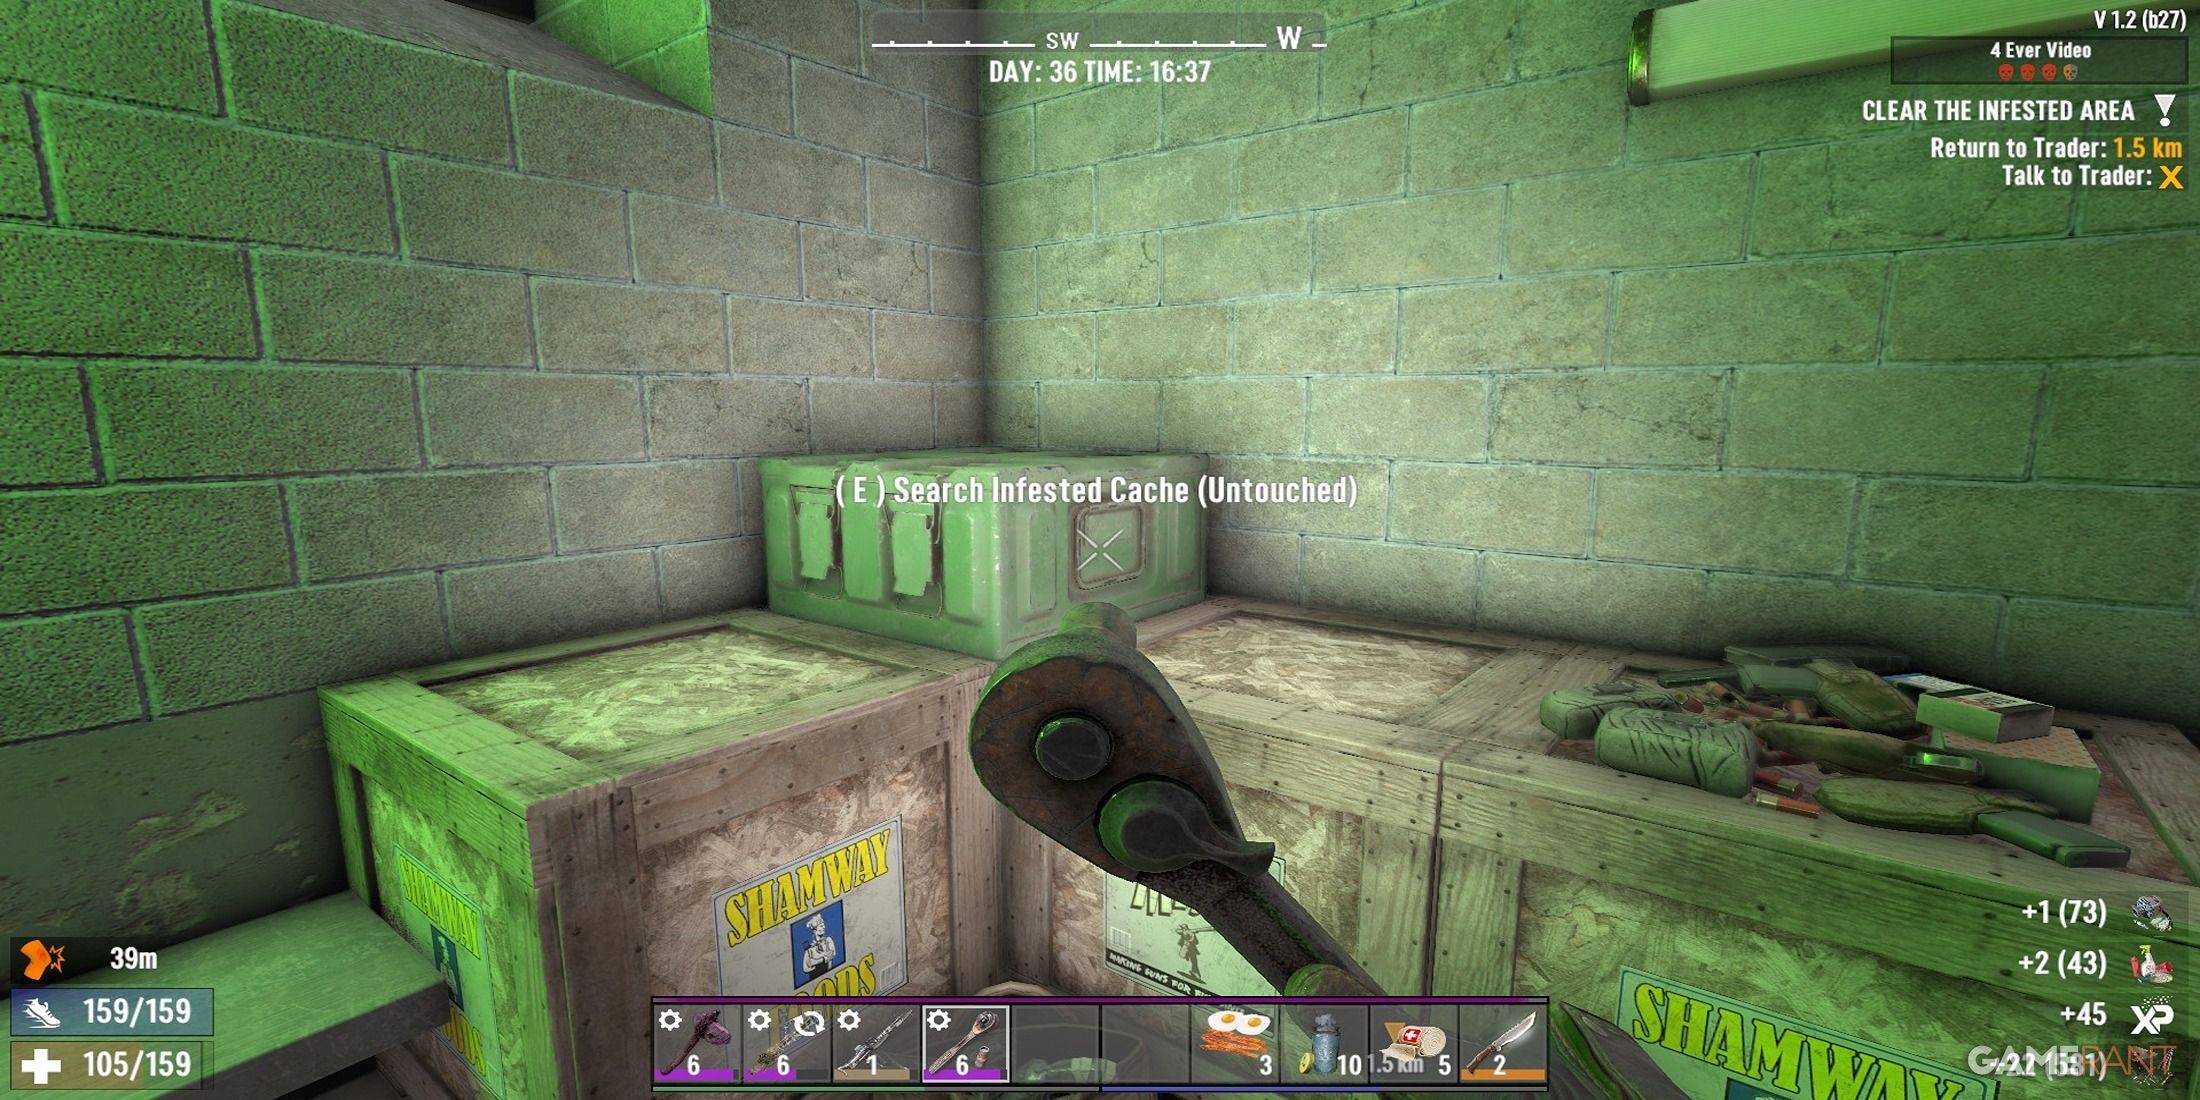
Once all zombies are eliminated, report back to the trader to claim your rewards. Don't forget to collect loot from the infested cache – a bonus container often found in these missions.
Infested Clear Mission Rewards
 Rewards are randomized but influenced by game stage, loot stage (boosted by the Lucky Looter skill and Treasure Hunter mod), mission tier, and skill point allocation. The "A Daring Adventurer" perk significantly improves rewards, increasing Dukes earned and, at rank 4, allowing selection of two rewards instead of one. Sell any unwanted items to the trader for additional XP.
By following these strategies, you can effectively conquer 7 Days To Die's infested missions and reap their substantial rewards.