Roblox *Pressure* is a thrilling game that challenges players to navigate through various rooms while evading a diverse array of monsters. Understanding the strategies to deal with each monster is crucial for surviving and successfully completing each run. Here's a comprehensive guide on **all monsters in *Pressure* and how to survive them**.
How to Survive All Monsters in Pressure
In this section, you'll find detailed instructions on **how to beat all monsters in *Pressure***. Some monsters are encountered randomly, others are Node monsters with specific paths, and some appear in designated areas like the DiVine in Oxygen Gardens. I'll walk you through the specific methods to handle them and the cues to watch for, ensuring you know when to hide. Be cautious of **Cleithrophobia**, which triggers if you hide too long and forces you out, so timing is key. Listen or watch for the signs of each monster as outlined below.
Pandemonium
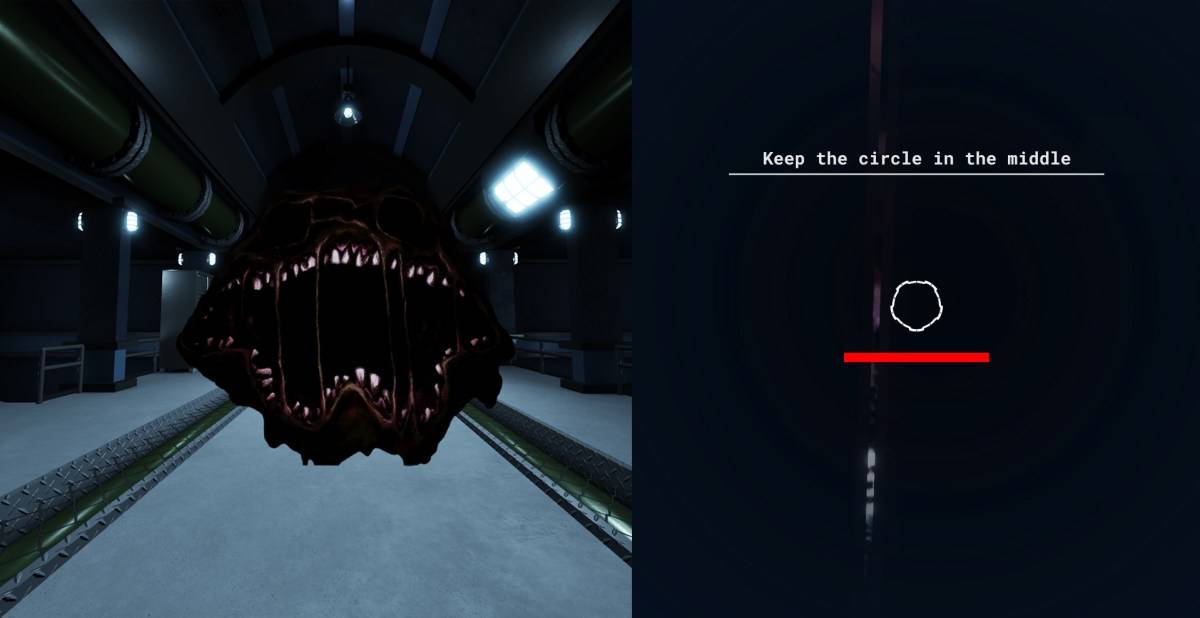 Image by The Escapist
When you notice the lights flickering, Pandemonium might be on its way. Avoid rushing into a locker due to Cleithrophobia; instead, stand near one and wait for the monster's roar. Pandemonium will instantly kill any players in its sight who aren't concealed. If it approaches your locker, you'll be pulled into a mini-game where you must keep the cursor centered on the screen while it moves, all while the monster tries to break into your locker. Surviving this mini-game means you've outlasted Pandemonium.
Good People
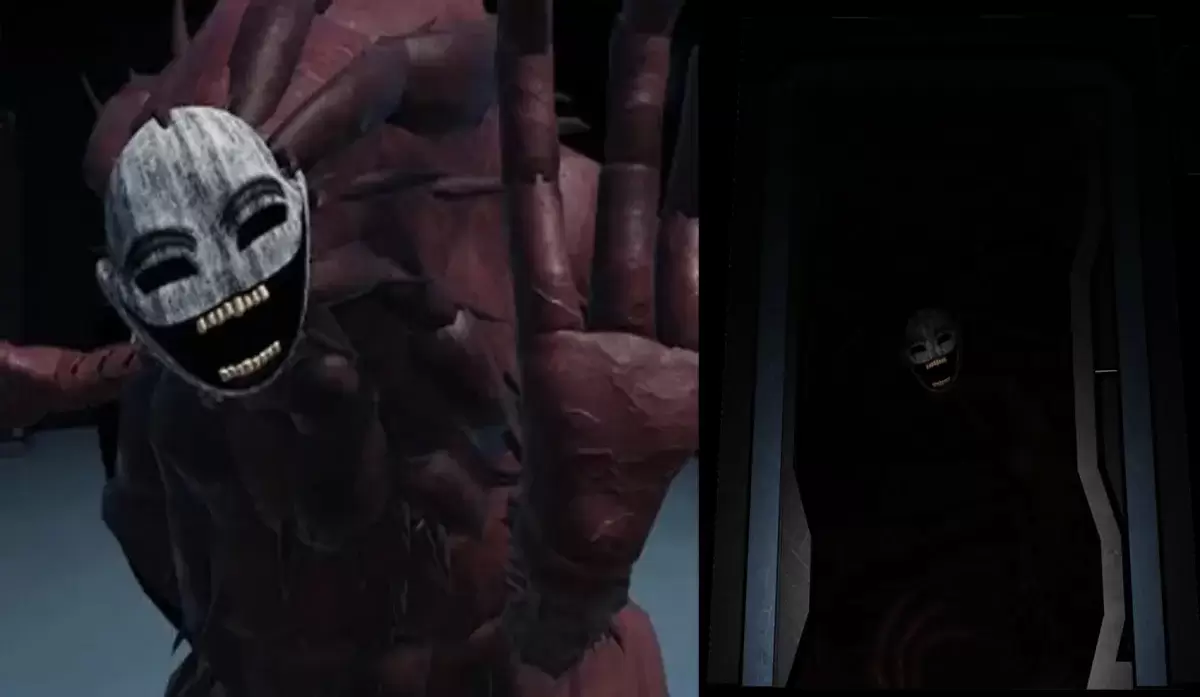 Image by The Escapist
Good People appear in rooms with dead-end doors, one of which is a Fake Door that leads to an attack if entered. To avoid this, consider the following:
- Fake Door Cues: Approach doors closely without opening them to listen for breathing, growling, sparks, or faint scanlines on the navi-path sign, indicating Good People's presence.
- Dark Rooms: In darker areas, the navi-path screen of Fake doors will remain lit, whereas real doors will appear dark.
- HQ Message: If HQ suggests a path without revealing the incorrect one, be vigilant for Fake doors.
Eyefestation
 Image by The Escapist
This shark-like monster is found in rooms with ocean views. Avoid looking out the window, as eye contact drains your HP. Simply leave the room without glancing outside to despawn Eyefestation.
Squiddles
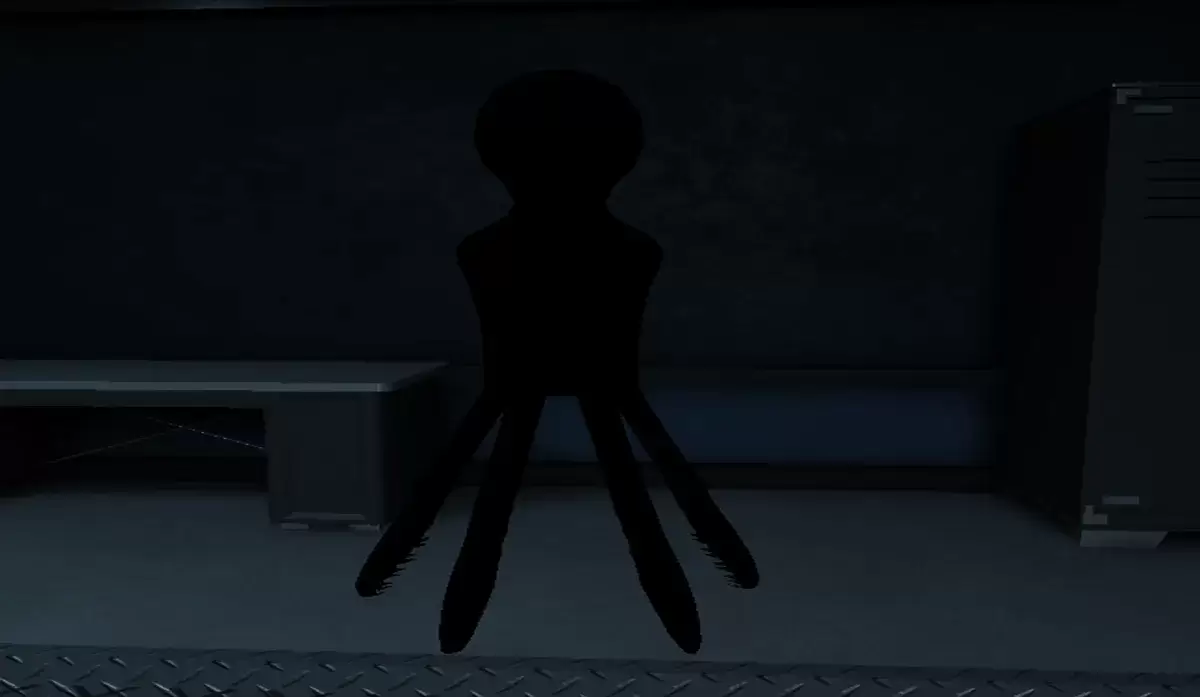 Image by The Escapist
Squiddles are manageable; just turn off your light upon sighting them and maintain a safe distance. They frequent dark rooms or those darkened by other monsters. With your light off, you can safely navigate past them.
Locker Void-Mass
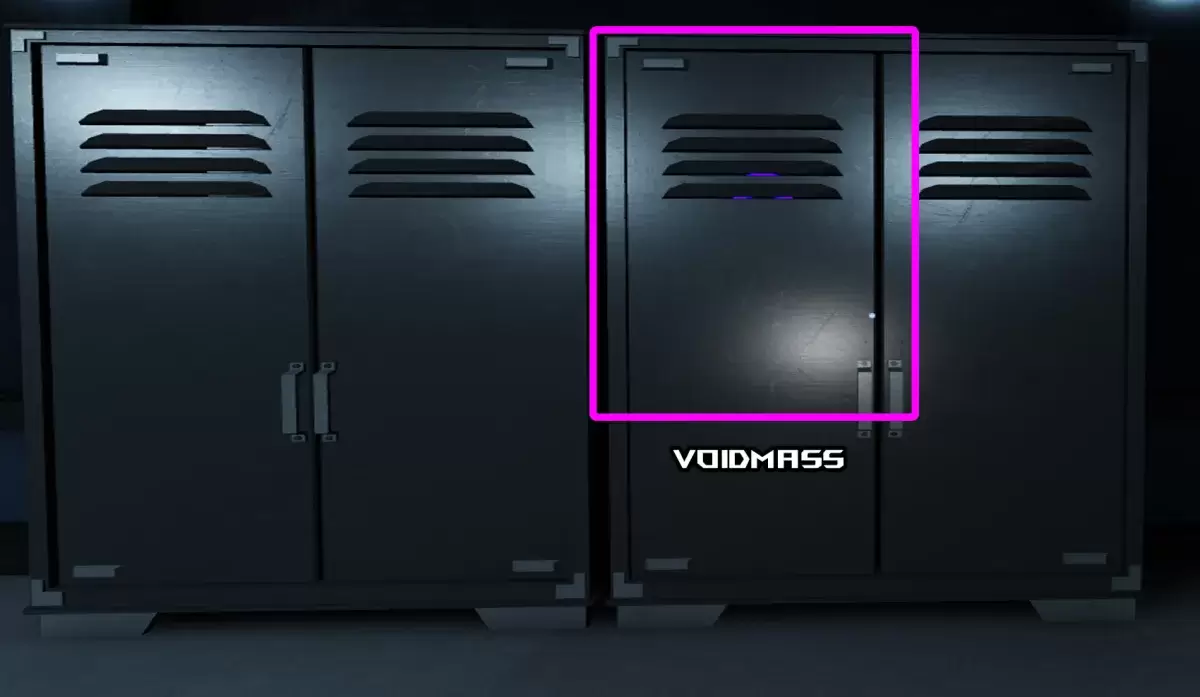 Image by The Escapist
These slimes spawn randomly in lockers, damaging and trapping players who enter. Always inspect lockers for purple slime before hiding. If trapped, you'll take continuous damage until you die or are rescued by another player.
Wall Dweller
 Image by The Escapist
Wall Dwellers emerge from walls to chase and insta-kill players. Listen for their distinctive, out-of-sync footsteps. If spotted, they retreat, but you can also bait them into attacking and have a teammate kill them. Notably, if a roaming Node like The Angler encounters a Wall Dweller, it will kill it, leaving a meat chunk that provides health regeneration. However, meat from player-killed Dwellers is defective and won't heal.
Redeemer and Hanger
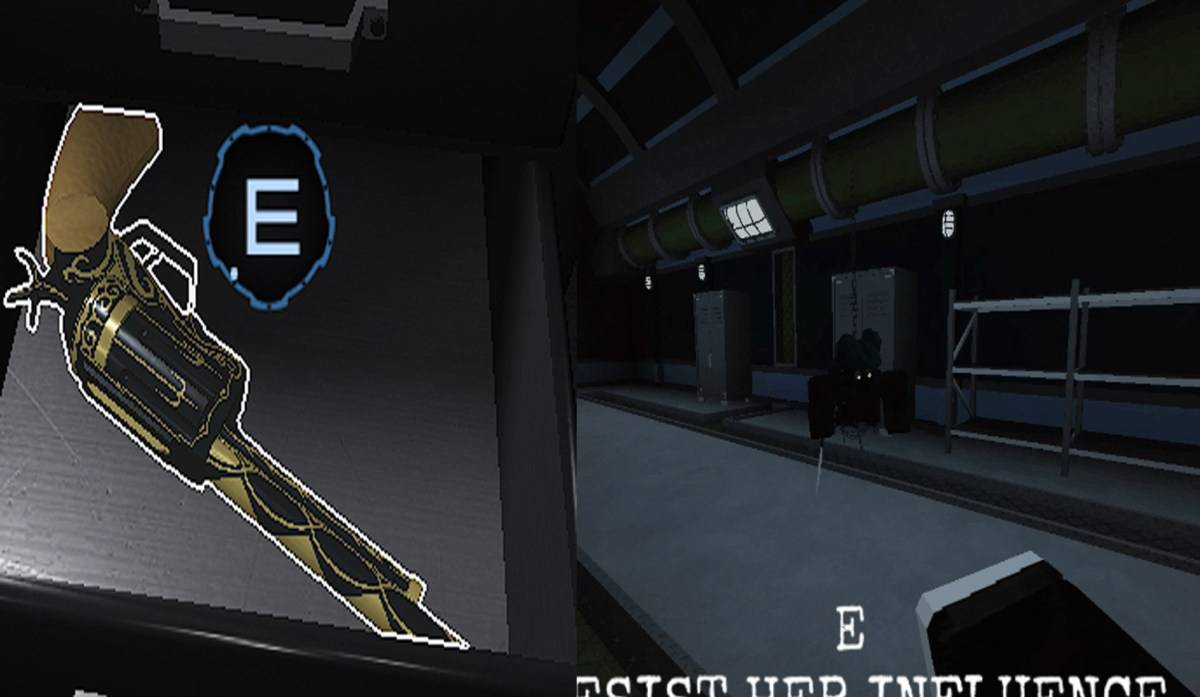 Image by The Escapist
Finding the Redeemer revolver initiates a minigame where the Hanger monster appears behind you. The challenge is to mash the E (Interact) button to resist the Hanger's influence. Success allows you to shoot the Hanger and survive; failure results in self-harm or being stabbed by the Hanger for 20 damage each hit.
Candlebearers & Candlebrutes
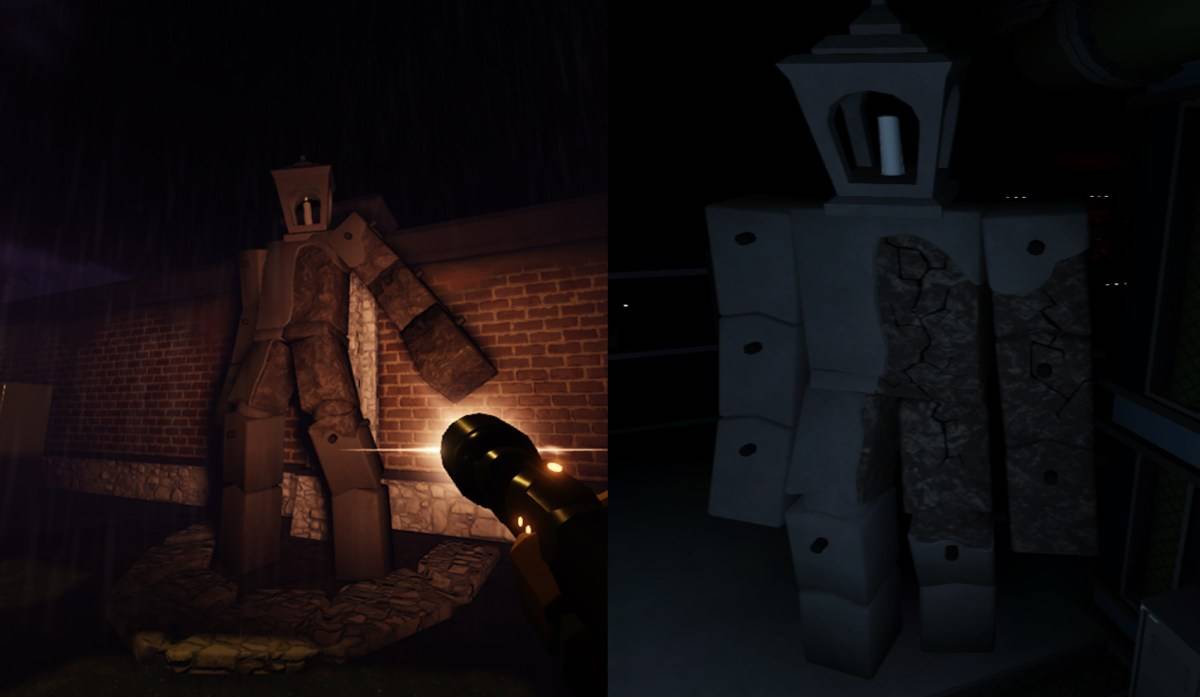 Image by The Escapist
Candlebearers are stunned by light, but avoid shining it on them for more than 3 seconds to prevent them from becoming enraged and chasing you. They cause minimal damage if they reach you, so use light sporadically to slow them down. Candlebrutes, a tougher variant, are only slowed by light, not stunned, and emergency lights have no effect. They can be enraged after 5 seconds of light exposure, indicated by their light turning fully blue.
The Angler
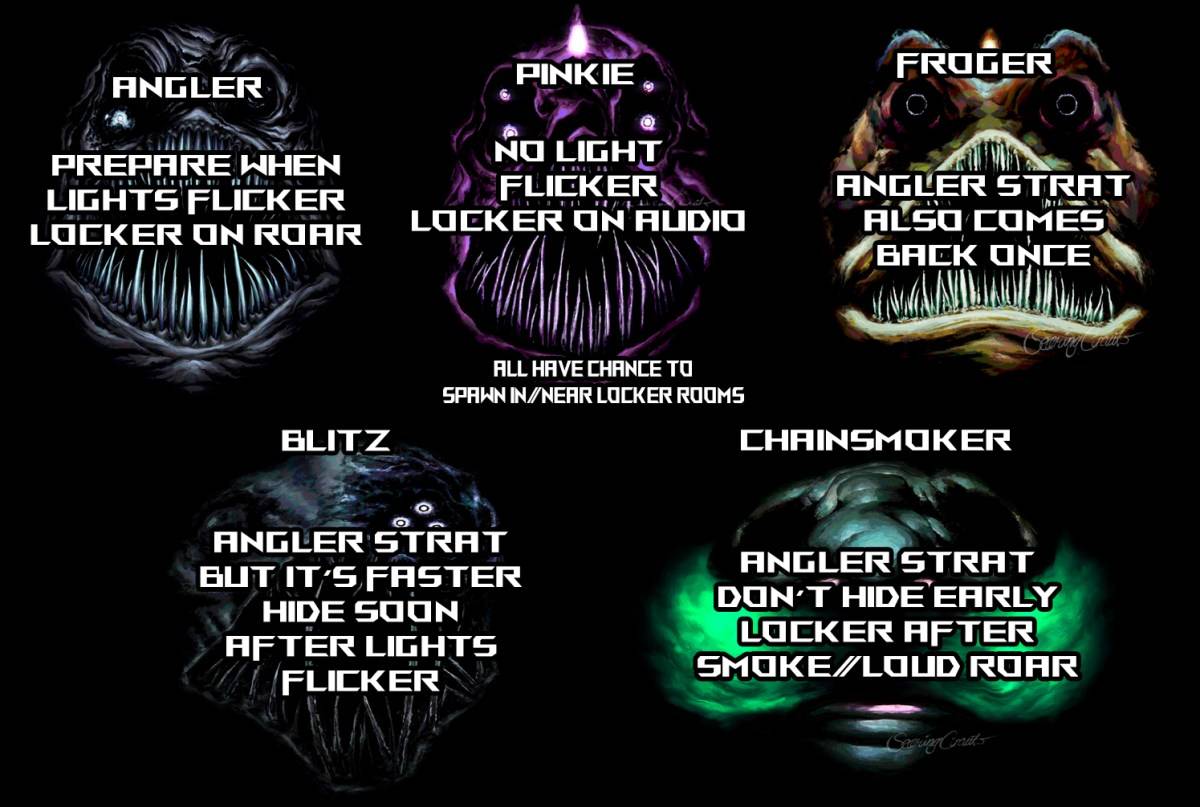 Image by The Escapist
The Angler and its variants are commonly encountered. When lights flicker, it's your cue to hide in a nearby locker or submerge your head in water. They spawn only in rooms with lockers, and failing to hide in time leads to an instant kill upon their arrival.
Pinkie
Similar to the Angler, Pinkie's approach is signaled by a screeching sound, not flickering lights. Hide in a locker upon hearing this, as she will only spawn where hiding spots are available.
Froger
Froger follows the same pattern as the Angler, with lights flickering and a screech. The unique aspect is that Froger will retrace its path after reaching the end, necessitating a second hiding opportunity.
Chainsmoker
Chainsmoker's arrival is marked by flickering lights and the sound of rattling chains. Hide when your screen starts to shake to avoid being forced out of a locker by his green smoke. He's one of the slower monsters, giving you more time to react.
Blitz
Blitz is the fastest among the Node monsters. Hide upon hearing his screech and loud roar as he enters the room, mindful of his swift approach.
Bottomfeeder
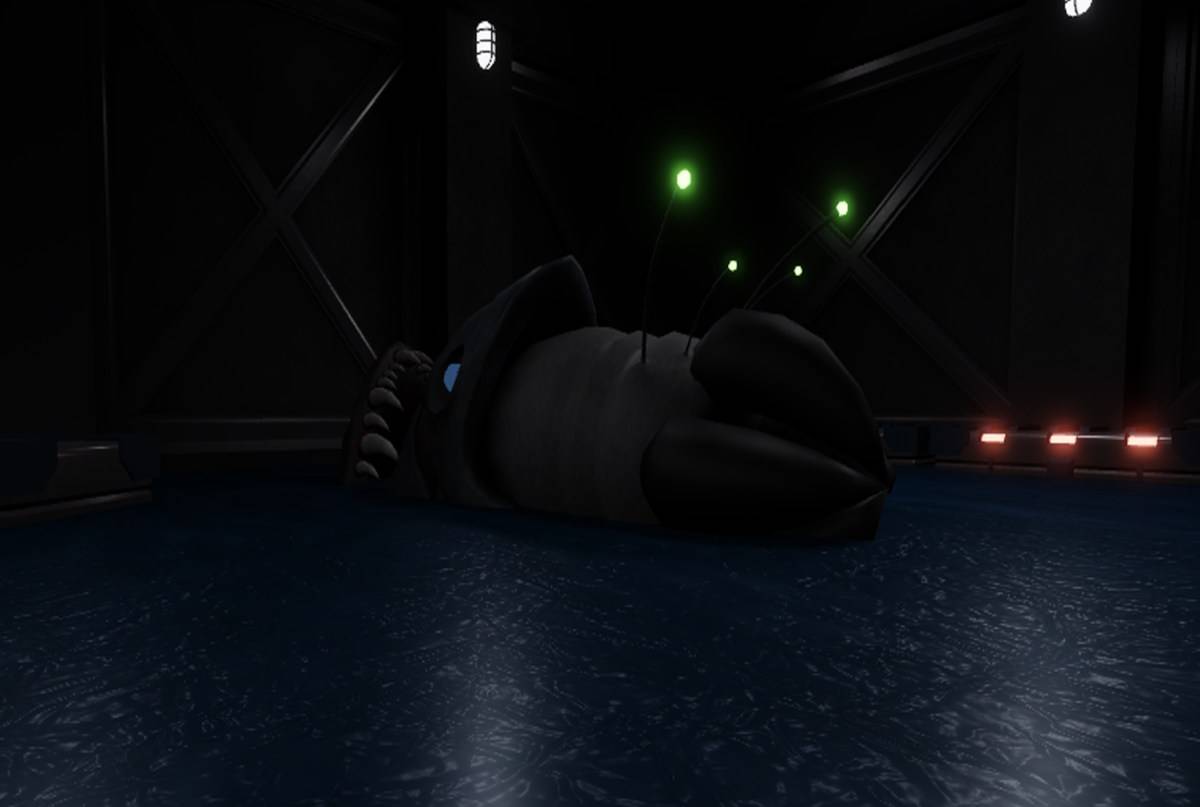 Image by The Escapist
Found in The Dredge area, Bottomfeeder attacks players in water. Use dry surfaces to evade it, and if caught, participate in a mini-game mashing Q and E (or mobile buttons) to escape. Winning the mini-game temporarily repels the monster, giving you time to reach dry land.
The DiVine
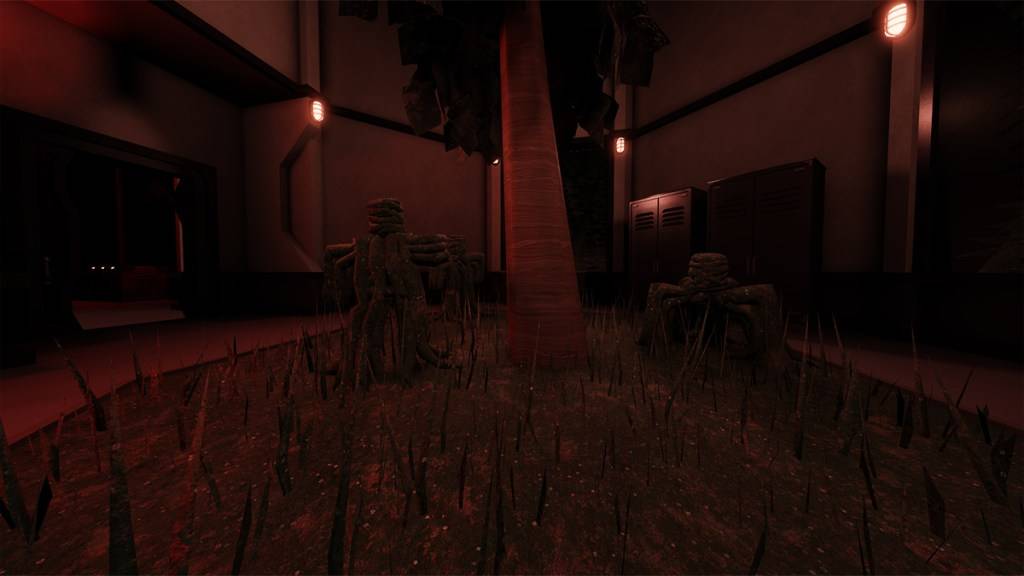 Image by The Escapist
In Oxygen Gardens, The DiVine trees remain passive unless you step on grass, activating them to chase and deal 75 damage. Avoid grass to stay safe, and be mindful of their potential to combine with other monsters like Eyefestation, requiring you to manage multiple threats simultaneously.
That concludes my guide on all monsters in *Pressure* Roblox and how to survive them. Remember to check out our *Pressure* codes for additional in-game benefits and enhance your gameplay experience.